Alright, buckle up folks, because I’m about to spill the beans on my little “bmf belt replica” project. You know, the one inspired by the Rock? Yeah, that one. Don’t judge! We all have our hobbies.
The Spark: It all started innocently enough. I was watching some wrestling (don’t @ me!) and bam! There it was, the BMF belt. I thought, “Hey, that’s kinda cool… maybe I could try making one.” And so, the madness began.
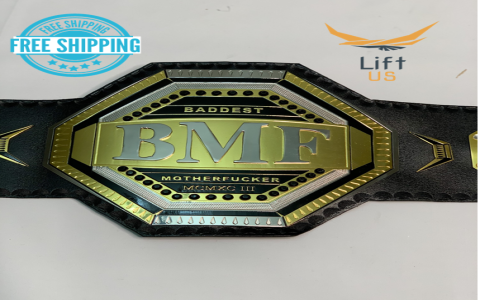
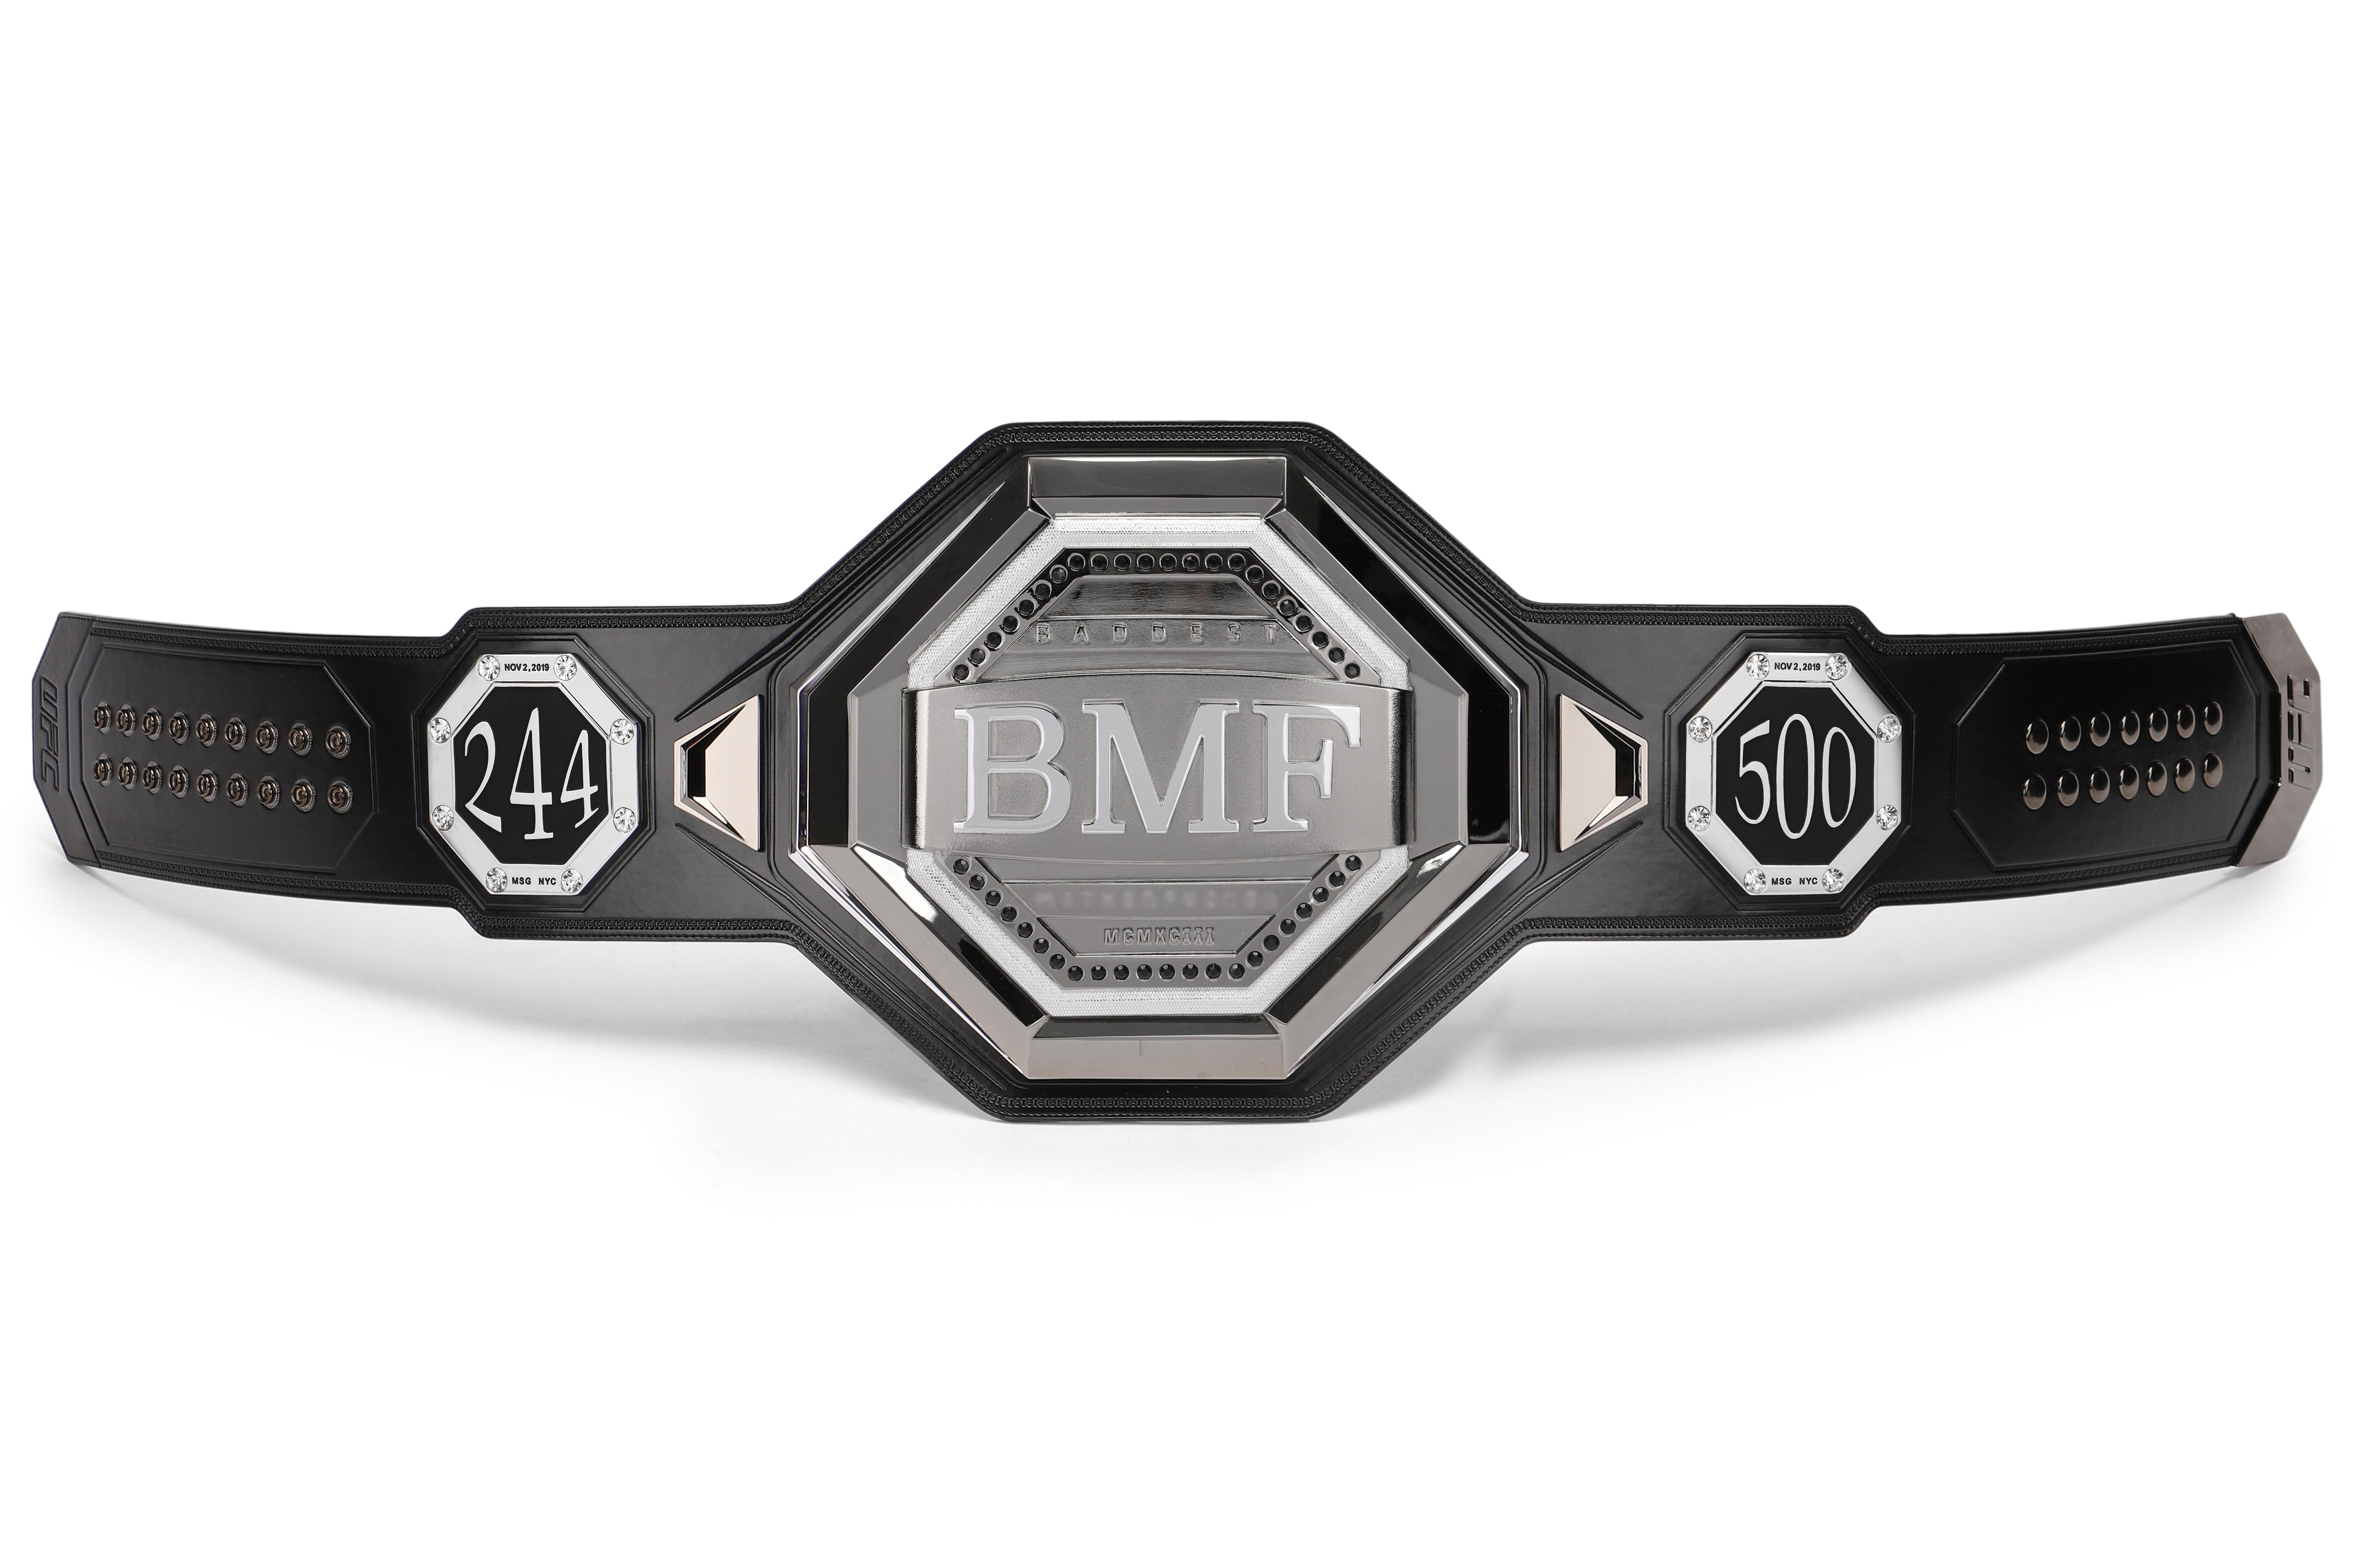
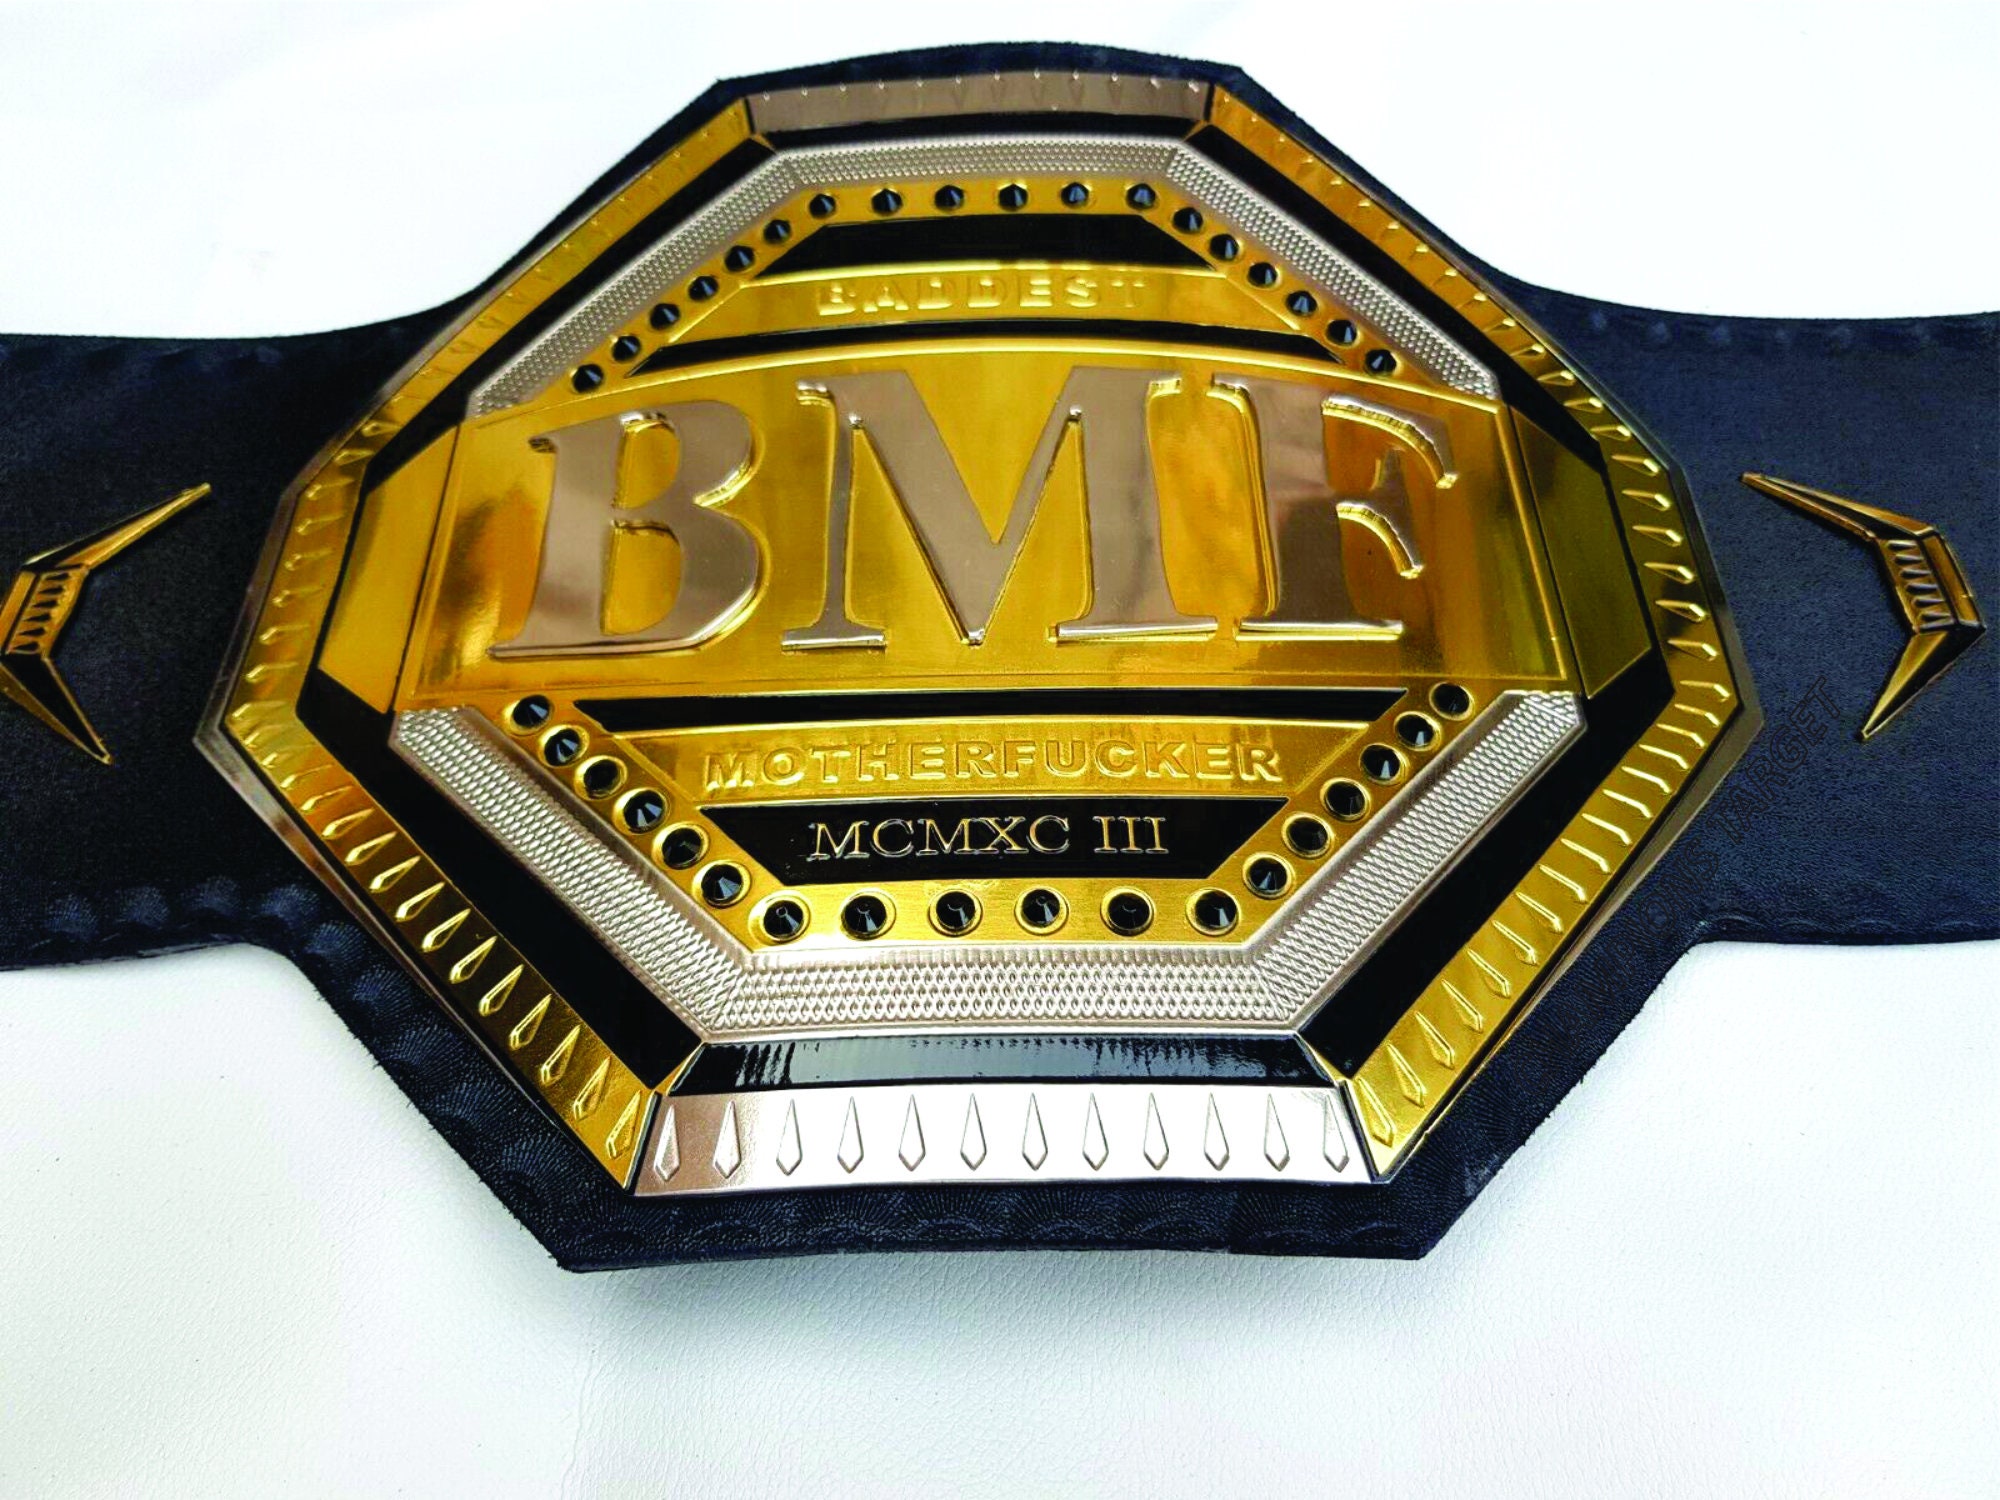
Research & Gathering: First things first, gotta do some digging. I spent a good chunk of time online, scouring for images, dimensions, anything I could find about the real deal. I wasn’t aiming for perfection, just a passable replica. Then came the supply run. I hit up the local craft store for some thick leather (or pleather, let’s be real, budget!), metal sheets (again, think “realistic” not “museum quality”), some buckles, rivets, and all sorts of other odds and ends.

Template Time: I printed out some images of the belt and started sketching out a template on cardboard. This was mostly eyeballing it, trying to get the general shape and size right. Lots of trial and error, I tell ya. Cut, adjust, repeat. My living room looked like a cardboard explosion zone.
Leather Work (aka the tricky part): Transferring the template to the leather was next. I carefully traced around my cardboard shapes and started cutting. This is where things got a little dicey. Leather is not forgiving! One wrong cut and you’re starting over. I managed to salvage most of it, though. Then came the tooling. I wanted to give it some texture, some depth. So I grabbed some basic leather tooling tools and went to town. It wasn’t pretty, but it added some character, I guess.
Metal Mania: The metal plates were a whole other beast. I used thin metal sheets, traced my template onto them, and then carefully cut them out with tin snips. Let me tell you, my hands were aching after that! After cutting, I hammered them a bit to give them a slightly curved shape. Not perfect, but good enough.
Assembly Required: Finally, the fun part – putting it all together! I attached the metal plates to the leather using rivets and some heavy-duty glue. The buckle was attached with more rivets, and I added some decorative studs and other bits of metal here and there for that extra “BMF” flair.
Finishing Touches: Once everything was assembled, I gave the leather a good coat of leather conditioner. This helped to soften it up and give it a bit of a shine. Then, I added some paint to the metal plates to make them look more authentic. A bit of black wash for some age and grime, and boom! Done.
The Grand Reveal: Was it perfect? Heck no. But it was mine. A slightly wonky, slightly embarrassing, but ultimately satisfying BMF belt replica. I even wore it to a wrestling party (yeah, I did). Did anyone notice the flaws? Probably. Did I care? Not one bit. It was a fun project, and I learned a lot along the way. And that’s what it’s all about, right?
So, there you have it. My BMF belt adventure. Would I do it again? Maybe. But next time, I’m investing in some better tools! And maybe a professional leatherworker to hold my hand.


