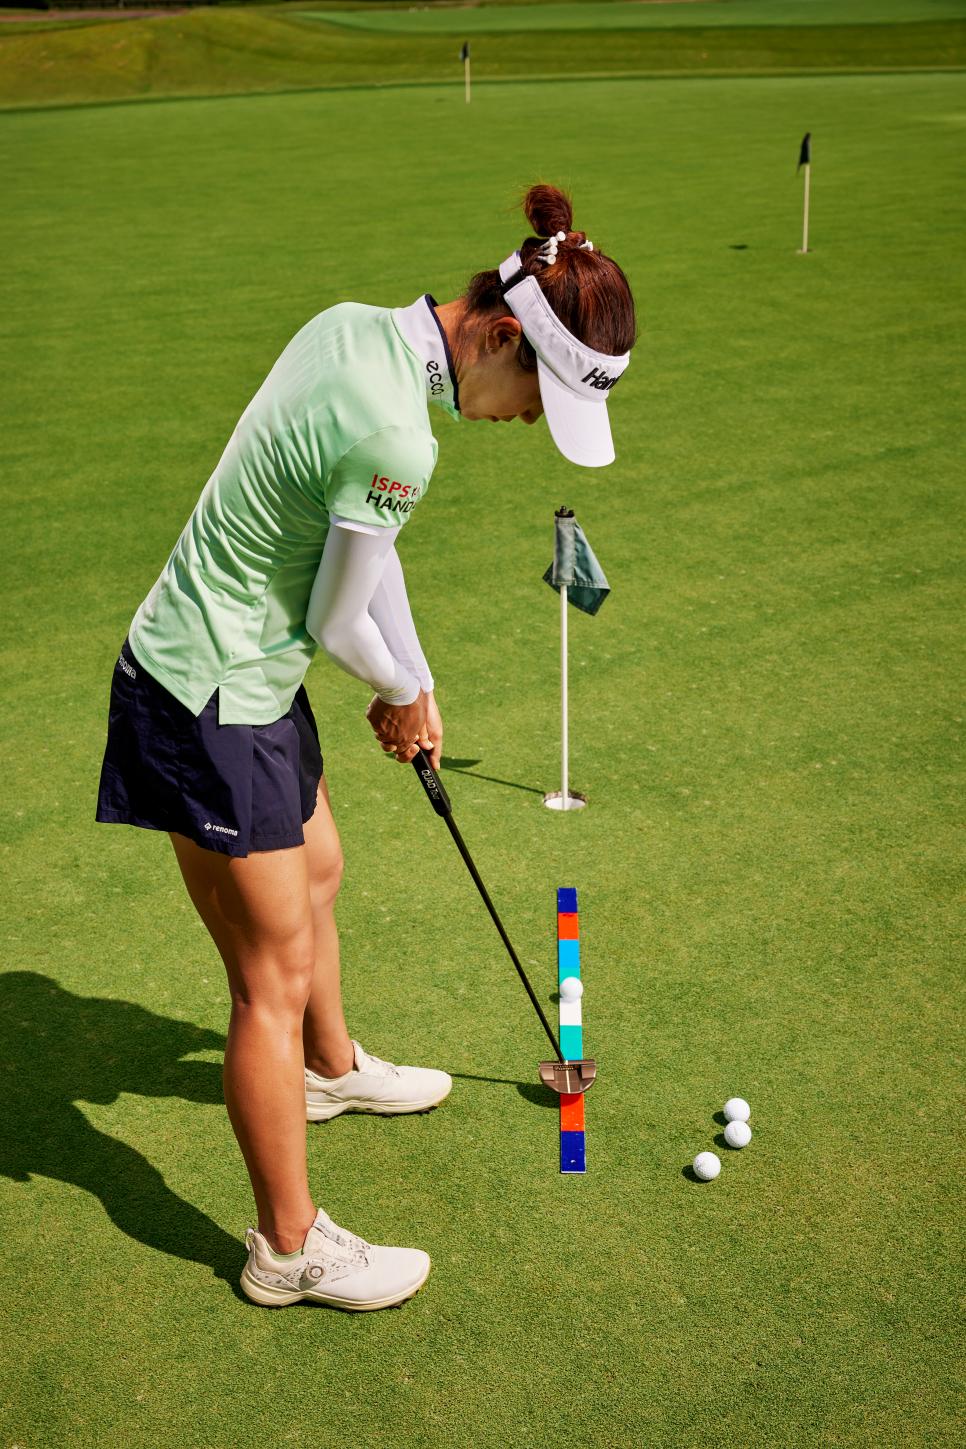
Alright, folks, gather ’round! Today I’m spilling the beans on something I’ve been tinkering with: re-gripping my putter like Lydia Ko. I’m no pro, but I figured, why not give it a shot? Here’s the lowdown on how it went down.

First things first, I snagged all the gear. I’m talking a new putter grip (went with a similar style to what Lydia uses, a Lamkin Deep-Etched), a hook blade, grip tape, grip solvent, a rubber vise clamp, and a measuring tape. Gotta have the right tools, right?
Next up: surgery on the old grip. This was the part I was most nervous about. I carefully used the hook blade to slice down the old grip. Gotta be super careful not to scratch the shaft! Peeling off the old grip was a bit of a workout, but I got there eventually. It was kinda gross under there, all sticky and old tape residue. Yuck.
Time to prep the shaft. I scraped off all the old tape with a plastic scraper (didn’t want to damage anything). Then, I cleaned the shaft with some solvent to get rid of any leftover gunk. Clean surface is key for the new tape to stick properly.
Tape time! I carefully wrapped the grip tape around the shaft, making sure to overlap it slightly. Smooth it out real good to get rid of any air bubbles. I made sure the tape covered the same length as the new grip, plus a little extra just in case.
Solvent shower. I covered the bottom opening of the new grip with my finger, poured a bunch of grip solvent inside, and sloshed it around like I was making a cocktail. Then, I poured the solvent all over the tape on the putter shaft. Everything needed to be nice and slick.

Sliding on the new grip. This was the moment of truth. I quickly slid the new grip onto the shaft, making sure it went all the way down to the butt end. It takes a bit of force, and you gotta work fast before the solvent evaporates.
Alignment is everything. I used the measuring tape to make sure the grip was aligned perfectly square with the putter face. This is crucial for consistent putting, so I spent a good amount of time getting it just right. Eyeballing it just wasn’t gonna cut it for this step.
Let it dry. I let the grip sit overnight to dry completely. Patience is a virtue, especially when it comes to golf equipment.
The payoff! The next day, I took my newly re-gripped putter to the practice green. Felt amazing in my hands! The new grip was tackier and more comfortable than the old one. I definitely felt more confident standing over the ball.
- Was it worth it? Absolutely! The whole process was pretty straightforward, and I saved a few bucks doing it myself. Plus, I got the satisfaction of knowing I did it myself.
- Would I do it again? For sure. Now that I know the ropes, it’ll be even easier next time.
Final Thoughts
So, there you have it. My Lydia Ko-inspired putter re-gripping adventure. It might not turn me into a pro overnight, but it definitely improved the feel of my putter and gave me a little extra confidence on the greens. Give it a try, you might surprise yourself!


