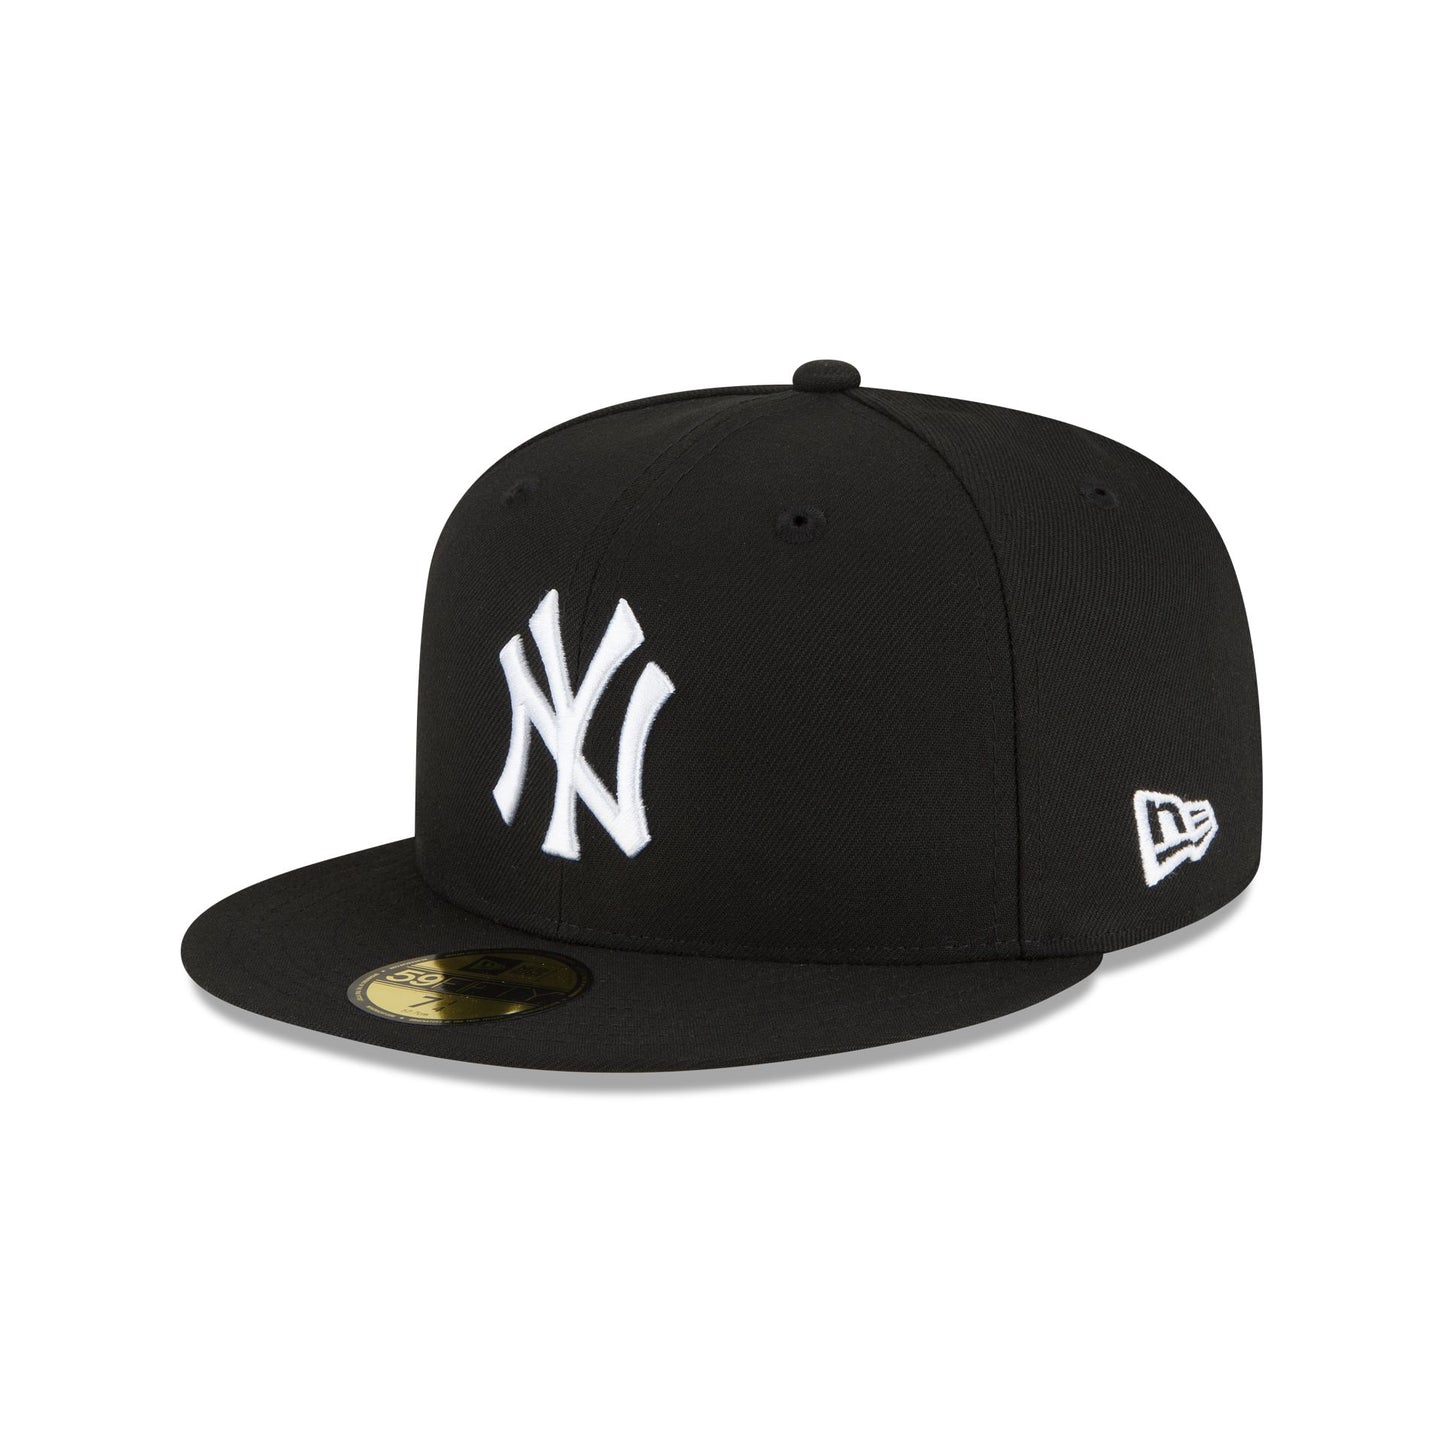
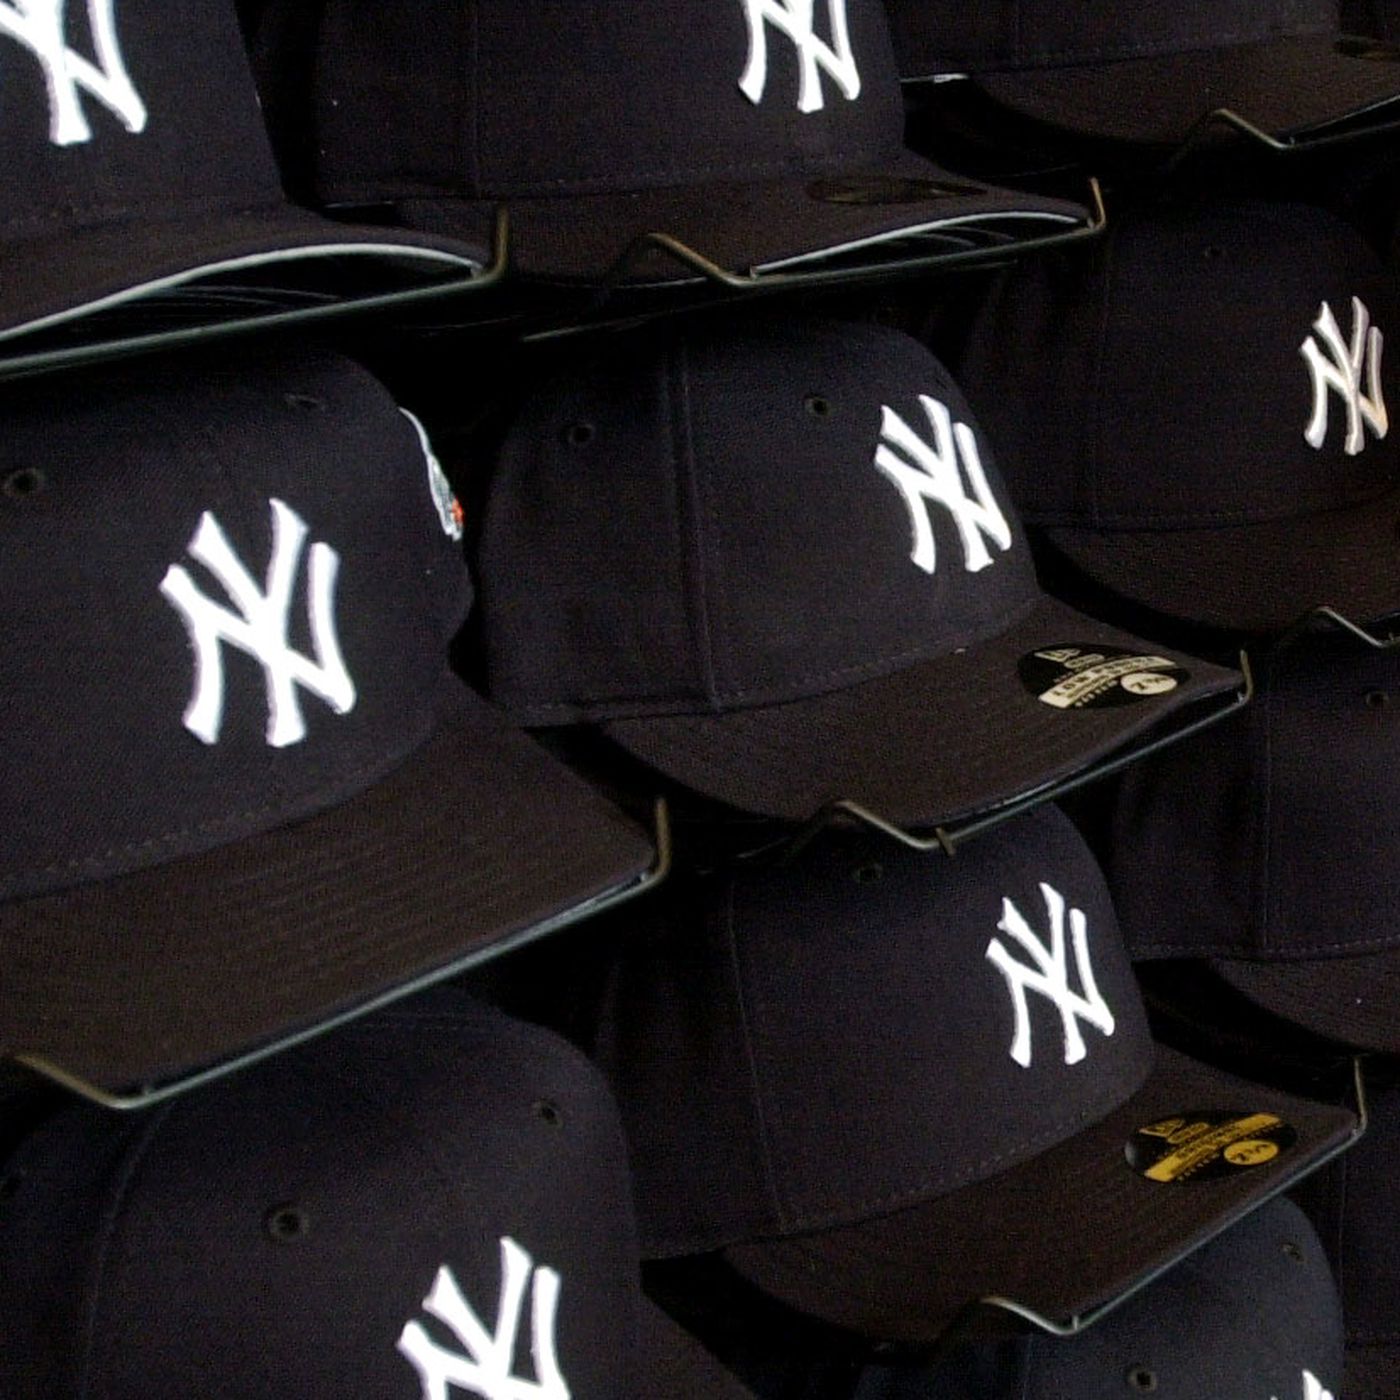
Okay, so I’ve been wanting to make this specific “black and white New York hat” for a while, you know, the kind with the bold lettering. I finally decided to just go for it!
First, I gathered my materials. This was pretty basic:
- A plain black baseball cap – I got mine for like, five bucks. Nothing fancy.
- White fabric paint – the puff paint kind, so it stands out.
- A pencil – for sketching the design lightly.
- A small paintbrush – for more precise application.
- Some newspaper – to stuff the hat so it holds its shape.
- A printout of the “New York” font I wanted.
Getting Started
I stuffed the hat with * made it way easier to work with the rounded surface.

Then, I lightly traced the outline of the “New York” letters onto the hat using my printout and the * tooks some trail,but I got it.
Painting Time!
Now came the (slightly) scary part – the actual painting!I tested out a small dot of my white fabric puff paint . I slowly filled in my traced letters.I was going for that slightly raised, textured * I took my time, adding paint bit by bit, and then waited sometime.
The Final Result
I let the hat dry overnight. I was so excited and had to resist the urge to touch it!Then the next morning… it looked pretty good! There were a couple of spots where I’d messed up a little, but overall, it was totally wearable and had that cool, customized vibe I was going * I finished my unique hat!